
At the moment, I have disabled user registration and login. Most of you never login, and the only advantage to do so, is that you can submit pictures to the gallery, so it wont have much negative effect. I did this because the user registraiton was getting spammed with fake accounts. If I figure out how to add some effective captcha to stop this heppening, I may re-enable the user menu in the future.
-Pete
- Details
- Hits: 34467
This instrument is supervised by: Peter Eaton, contact: This email address is being protected from spambots. You need JavaScript enabled to view it.


This instrument is a modified TT-AFM from AFM Workshop.
It is equipped with two scanners, enabling large (low resolution ) or small (high resolution) scanners. It has an experimental liquid cell for in-situ measurements.
Here are more detailed specifications:
- Instrument Configuration: Light lever (optical lever) - based sample-scanning AFM
- Sample Sizes:ca. 13x13x5 mm
- Imaging Modes: vibrating (tapping), non-vibrating (contact), phase imaging, lateral force microscopy (friction force microscopy)*
- Imaging Environment: Air or Liquid* (experimental).
- Z-translation: Vertical direct drive (1micron resolution)
- XY Translation: manual micrometers
- Video Optical Microscope: Zoom to 400X, 3 micron resolution (3M pixel camera)
- Scan Range: 70x70x17 microns or 20x20x7 microns
- Linearisation: All axes (x, y and z) with strain gauges, which can be turned off for enhanced signal to noise ratio.
- Z noise level: less than 0.2 Angstrom
- Vibration isolation: compact passive vibration isolation
*These features are not yet tested.
Booking Schedule and Calendar:
 |
 |
 |
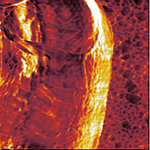
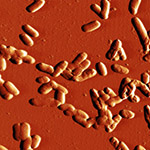
| Phase image of E. coli | Many E. coli | Amplitude E. coli |
 |
 |
 |
|
Silicon grid showing |
Phase image of spores |
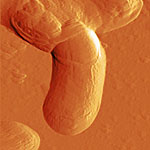
Cell growing from spores - 3D |
 |
 |
|
| Leishmania cell | Epithelial cell |
Protocols
- Startup Procedure
- Shutdown Procedure
- Insertion and laser alignment of probes
- Scanning in contact "non-vibrating" mode
- Approaching in vibrating mode
- Scanning in tapping or "vibrating" mode
- Opening files: We recommend using Gwyddion version 2.22 or later.
- These protocols are currently in development, meanwhile, here is a link to the latest version of the protocols word document for use of "Long Beach": TTAFM_protocols.doc
- Details
- Hits: 12866
- Turn on PC: Allow to boot to Windows. Turn on monitor
- Turn on EBox; all seven green lights should come on1
- Start Software (e.g. AFM Workshop 1.5.6.exe)
- Remove dust sheet from AFM
- Connect video camera to USB if necessary
- Turn on video camera light source
- Remove dust cap from video microscope
- Details
- Hits: 28820
 The Manager of this instrument is: Francisco Jorge Caldeira.
Contact: This email address is being protected from spambots. You need JavaScript enabled to view it. or This email address is being protected from spambots. You need JavaScript enabled to view it.
AFM Lab DQ-FCT-UNL, Caparica.
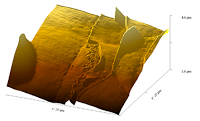
HelloI am a TT-AFM from AFM workshop.com... I was born (Jorge Caldeira assembled me) in Signal Hill CA USA, so he named me...Signal Hill !I travel from Signal Hill CA USA to Monte de Caparica Portugal ... Later I visit my twin machine Long Beach in Porto for the 2013 AFM course, and to pay its visit to Caparica in the 2011 AFM course.So both TT-AFM's were the first machines assembled and we traveled each almost 10 000 km ...so far...See the place were I was made .... and Leonor's hair that I imaged and got her the AFM 2013 course prize... Can I use AFM ? Yes you can ...

|
PEDOT on Paper Cesar Laia Jorge Caldeira
|
|
|
Pf1 bacteriophage cytochrome c electrostatic complex macroscopic fibers
Heber Silva Ruben Chaves Jorge Caldeira Peter Eaton CiiEM ISCSEM Requimte |
|
|
Tooth dentinal tubes Acid atacked hipoclorite cleaned
João Oliveira Jorge Caldeira CiiEM ISCSEM Requimte FCT UNL
|
|
|
Polymeric nanoparticles, formed from polystyrene with pending hydrophilic glucose moieties
Krasimira Petrova Requimte FCT UNL |
|
|
Polymeric nanoparticles (PNPs) based on amphiphilic polymeric conjugates composed of cholic acid, sucrose and PEG. Carina Crucho Teresa Barros Requimte FCT UNL |
|
|
Dental restoration resins and polishing systems
Rita Simões Jorge Caldeira CiiEM ISCSEM Requimte FCT UNL
|
|
|
Classic Maya chrysoprase maskette pendant ca. 800 AD
Hugo Miguel Crespo Faculdade de Letras Universidade de Lisboa
Ana Pereira DCR FCT UNL
|
|
|
Core-shell polymeric nanoparticles, formed from polystyrene with pending bifunctional glucose Krasimira Petrova Requimte FCT UNL
|
|
|
Nanoestructured (nanocal), synthesized from metallic Ca CaO Þ Ca(OH)2 + CO2 Þ CaCO3 Giovanni Borsoi LNEC Portugal TU Delft Holland |
|
|
Photochemical dendrimeric polymerization of tripodal coumarin João Avo João Lima Jorge Parola Requimte FCT UNL |
|
Pseudomonas aeruginosa with bacteriphage Pf1 | Patricia Montez Héber Silva, Ruben Chaves Jorge Caldeira
Dechorosprillium sp Bacteria | Cristina Costa
Yeast | Madalena Oom
Magnetically Aligned Pf1 Virus + Protein assocaition | Ruben C., Héber S., Celina S., P. Eaton
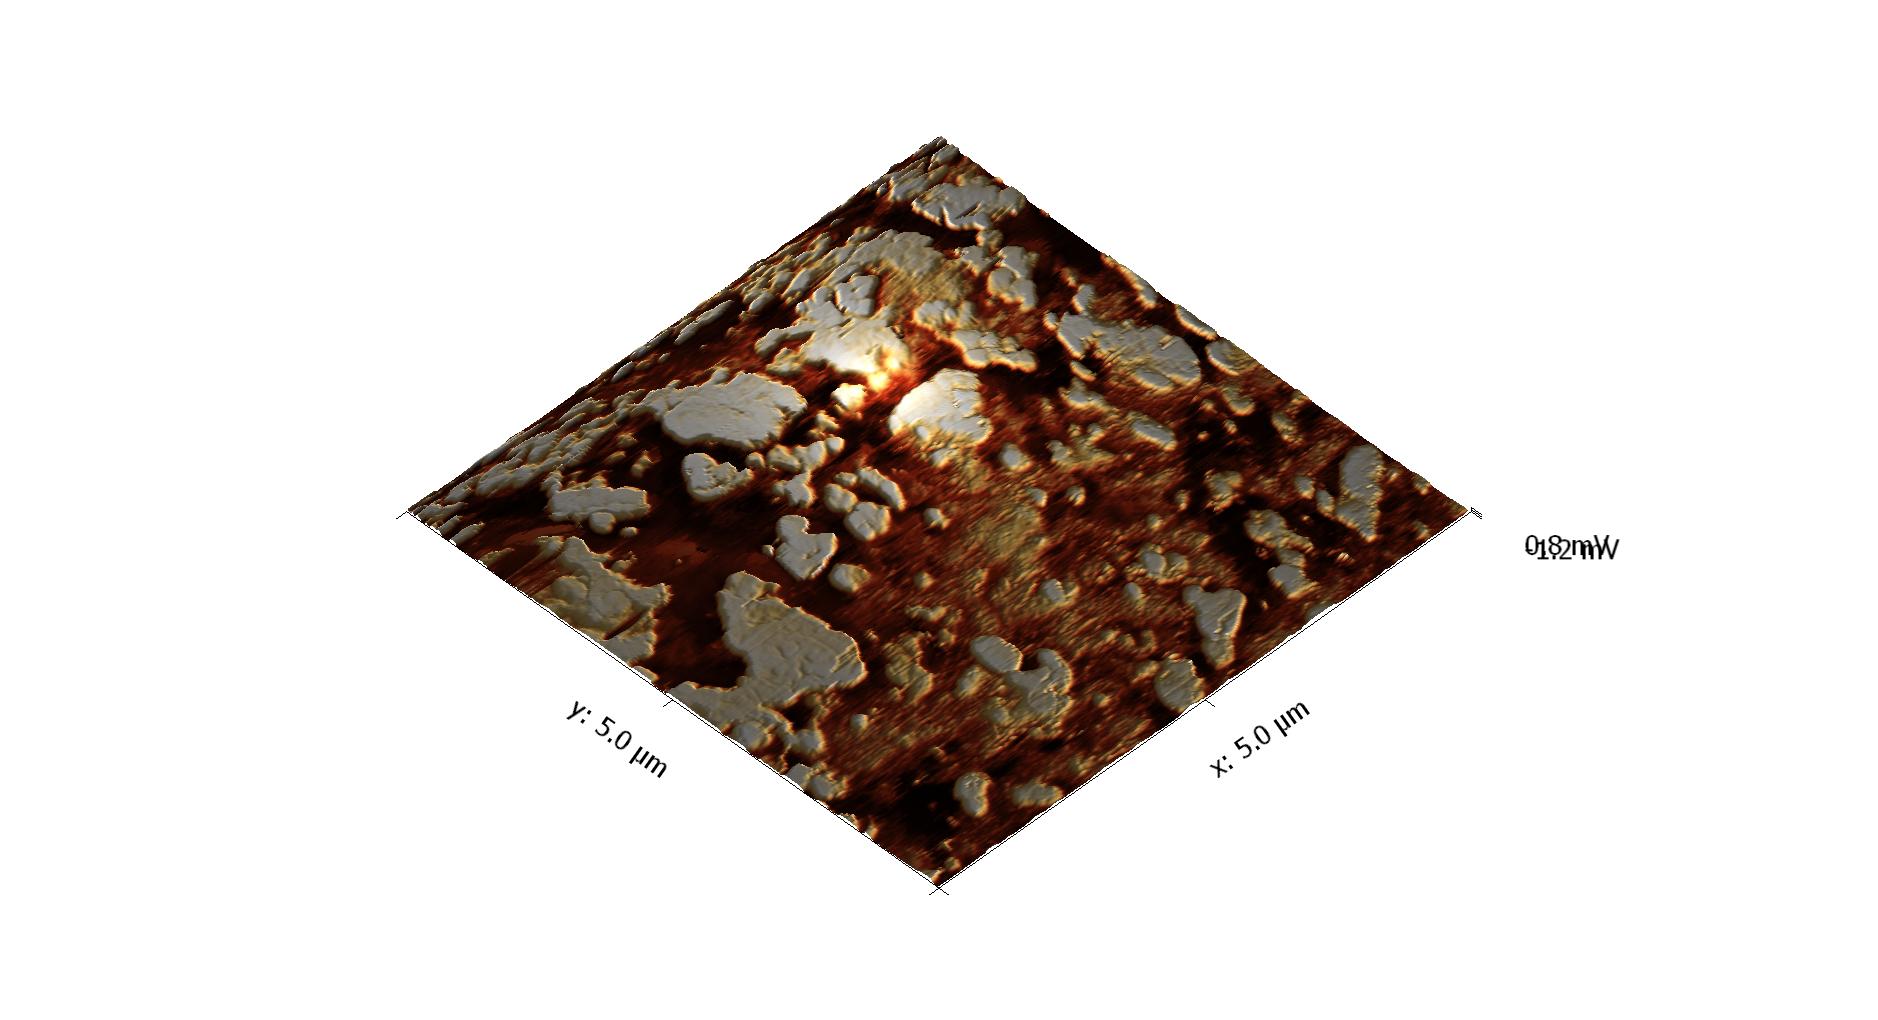
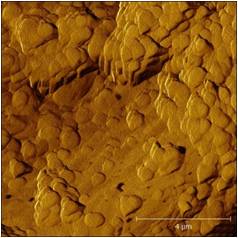
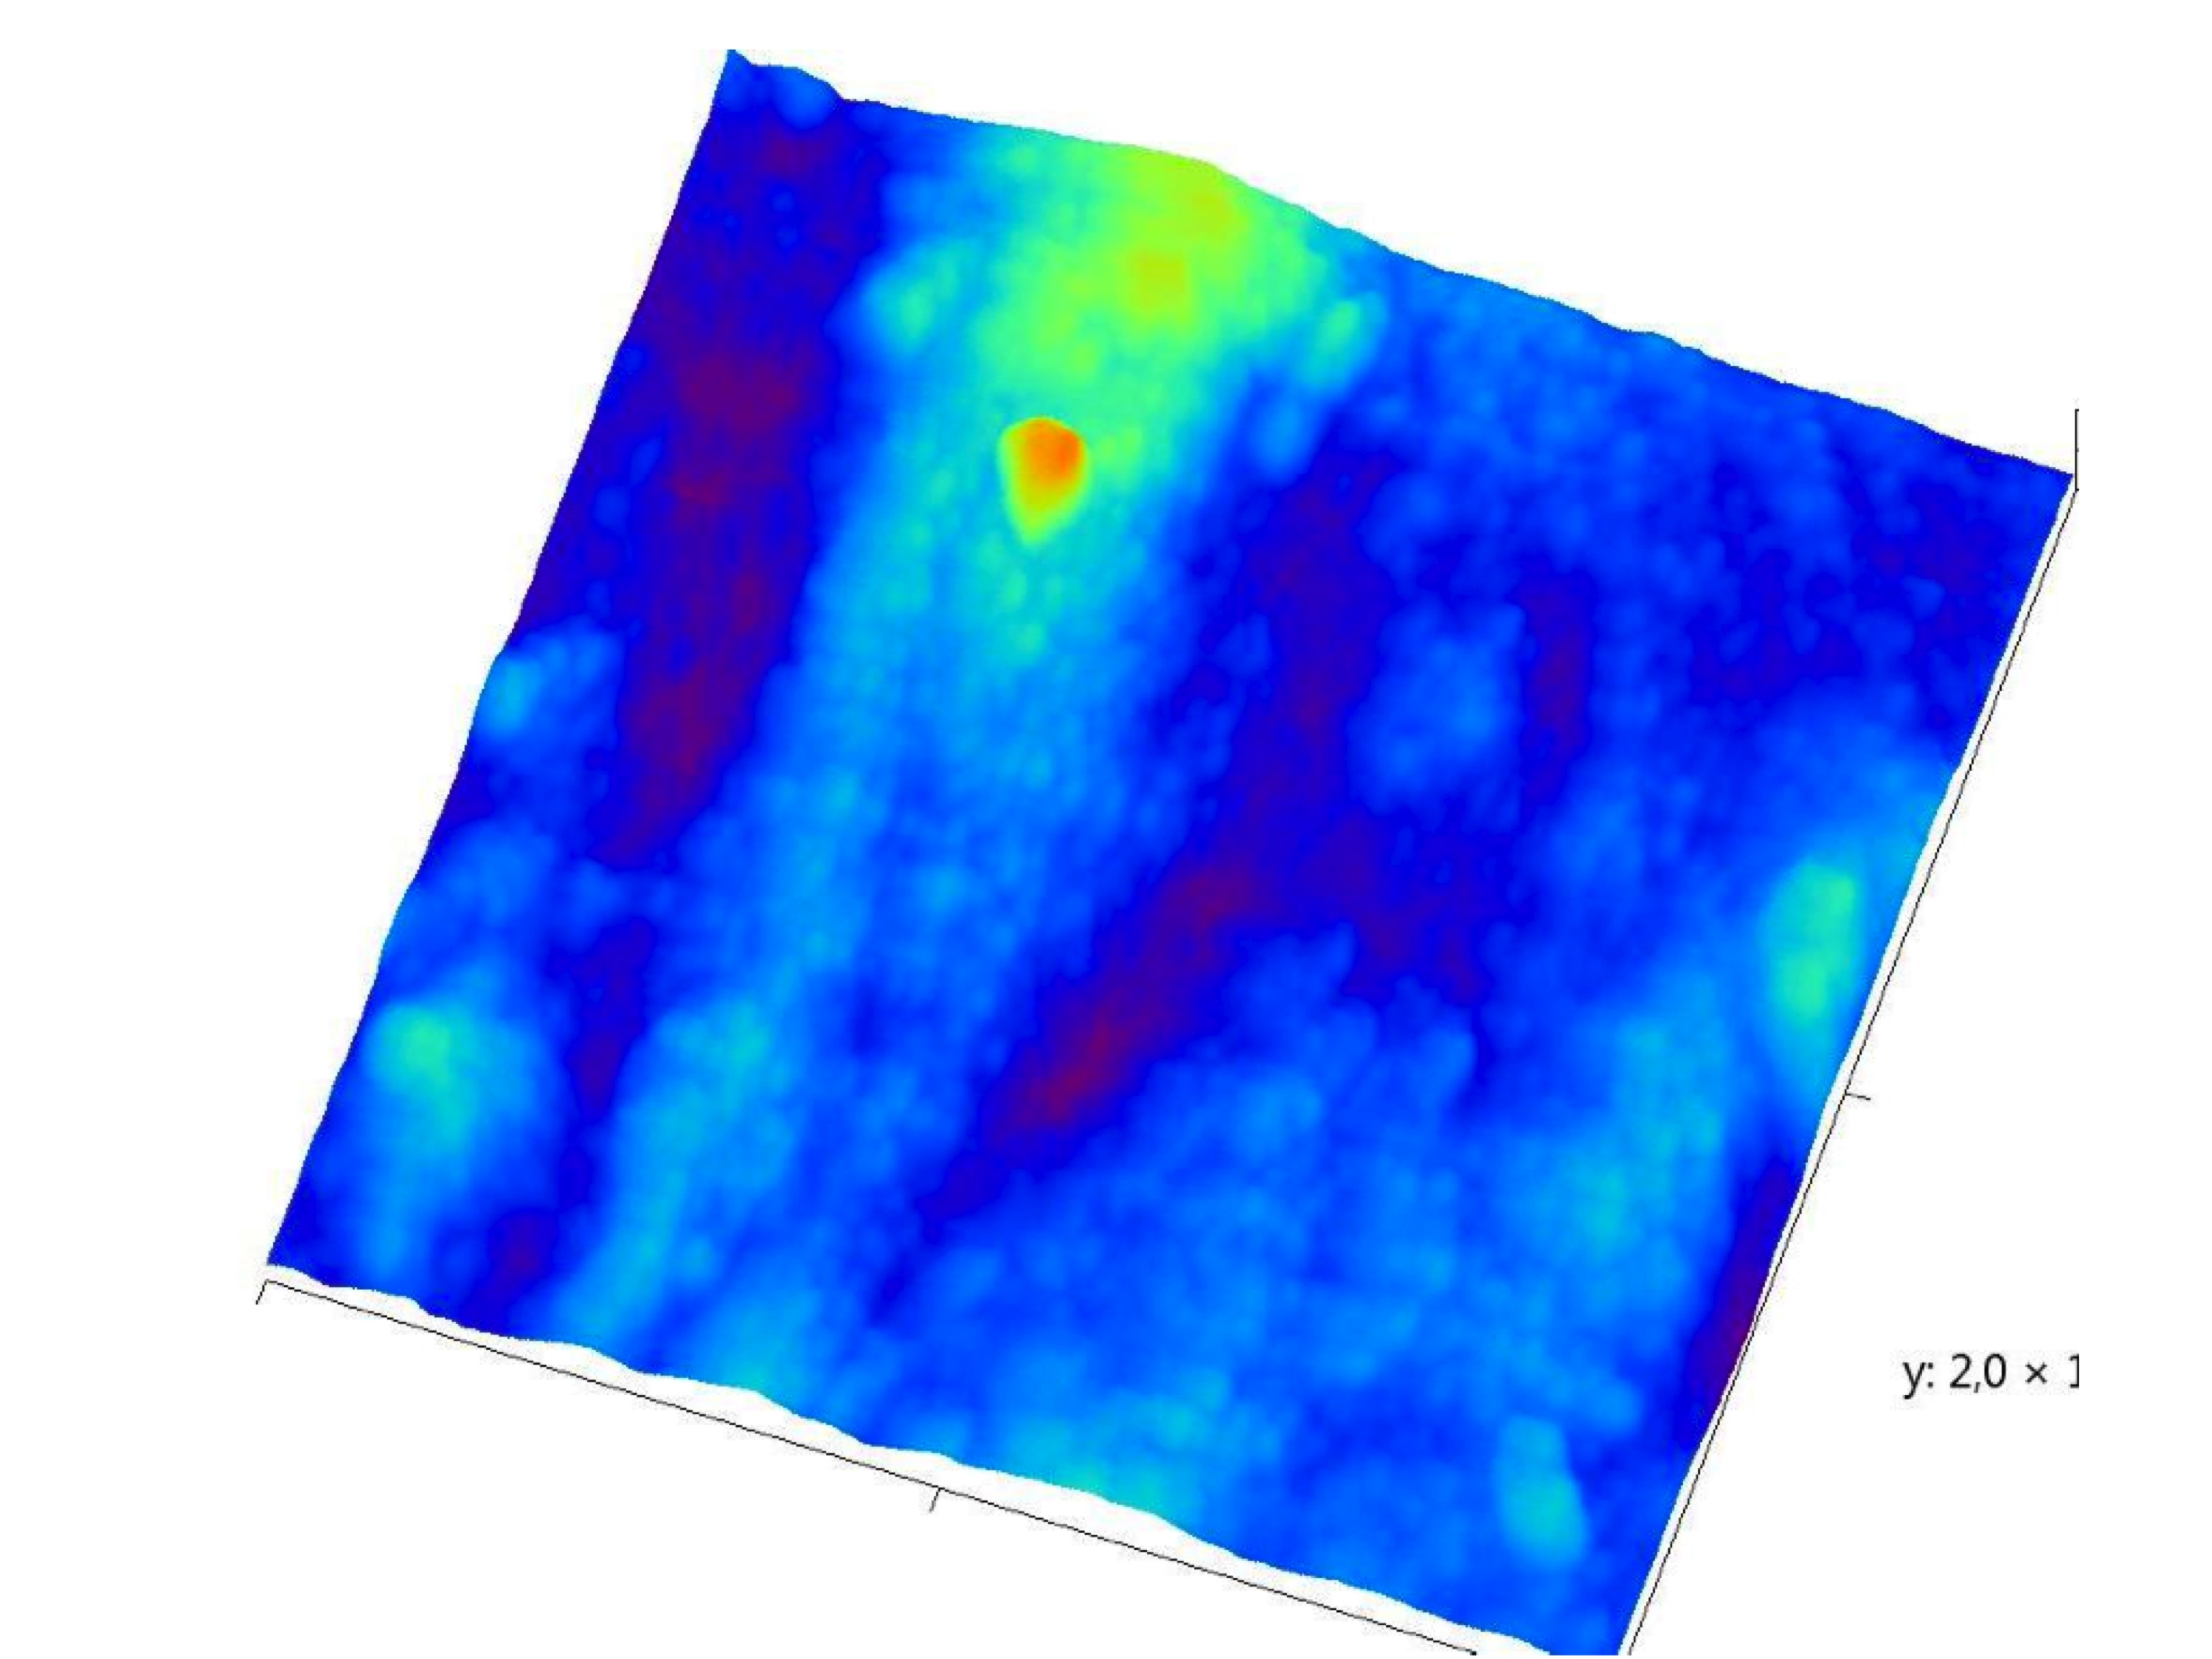
Magnetic Nano Particles Fe3O4 "bare" 10x10 μm Image | Cecília Roque, Sara Santana
![]()
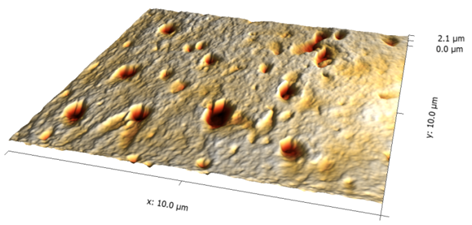
Vertically polsihed Tooth sample 20x20 μm Image | J.Martins dos Santos, Ana Mano Azul, Mario.Polido, João Oliveira e Jorge Caldeira
Instrument Information

This instrument is a modified TT-AFM from AFMWorkshop.
- Instrument Configuration: Light lever (optical lever) - based sample-scanning AFM
- Sample Sizes:ca. 13x13x5 mm
- Imaging Modes: vibrating (tapping), non-vibrating (contact), phase imaging, lateral force microscopy (friction force microscopy)*
- Imaging Environment: Air or Liquid* (experimental).
- Z-translation: Vertical direct drive (1micron resolution)
- XY Translation: manual micrometers
- Video Optical Microscope: Zoom to 400X, 3 micron resolution (3M pixel camera)
- Scan Range: 70x70x17 microns
- Linearisation: All axes (x, y and z) with strain guages, can be turned off for enhanced signal to noise ratio.
- Z noise level: less than 0.2 Angstrom
- Vibration isolation: homemade passive solution


Protocols
- Startup Procedure
- Shutdown Procedure
- Scanning in contact "non-vibrating" mode
- Scanning in tapping "vibrating" mode
- These protocols are currently in development, meanwhile, here is a link to the latest version of the protocols word document for use of "Long Beach": TTAFM_protocols.doc
Back to Requimte Page Go to Porto Lab Page
- Details
- Hits: 36939
2. Shutdown Procedure
- Ensure disengaged from surface
- Lift head ca. 1cm.
- Exit Software (e.g. AFM Workshop 1.4.1.exe)[1]
- Turn off EBox
- Shutdown PC and turn off monitor
- Remove your sample, and probe if appropriate.
- Remove video camera to USB
- Turn off video camera light source
- Fit dust cap to video microscope
- 10. Place dust sheet over AFM
[1] BUG ALERT: Some versions of the software do not shutdown if you use the red box with a cross in the upper right of the window. Instead exit with the “Exit” button on the Topo Scan Tab. If the software won’t close, use windows task manager to close it.)
- Details
- Hits: 26541
Subcategories
Page 14 of 21